Understanding Your Kenmore Electric Stove
Navigating Kenmore Elite stove specifics can be tricky when the model number is obscured, requiring resourceful investigation using parts websites and online communities.
Reddit’s r/HelpMeFind and r/fixit offer assistance, suggesting part number searches on sites like AppliancePartsPros to deduce the correct model.
Installation manuals, even for similar models, can provide visual clues, but confirming details like burner configurations is crucial for accurate identification.
Locating the Model Number
Finding the Kenmore electric stove’s model number is the first step, but it can be challenging if scratched off the frame. Typically, it’s located on a label affixed to the stove’s frame, often behind the oven door or on the back panel.
If the primary label is missing or damaged, explore checking individual parts like the clock or control board, as these frequently bear part numbers that can be cross-referenced on websites like AppliancePartsPros to reveal associated model numbers. Thoroughly inspect all accessible areas for any remaining digits or clues.
Decoding the Model Number
Once located, the Kenmore model number unlocks access to specific resources. Utilizing Sears PartsDirect, inputting the full number reveals detailed parts diagrams and compatible replacement components. This number also helps identify the stove’s manufacturing date and specific features.
Understanding the number’s structure isn’t always straightforward, but it’s crucial for accurate searches. Cross-referencing with AppliancePartsPros can provide additional model matches and clarify any ambiguities, ensuring you find the correct information and parts for your appliance.
Safety First: Important Precautions
Always disconnect power before maintenance. Exercise caution with hot surfaces, and refer to the appliance’s documentation for specific safety guidelines and warnings.
General Safety Guidelines
Prioritize safety when operating your Kenmore electric stove. Never leave the appliance unattended during use, especially when cooking with children nearby. Ensure proper ventilation to prevent the buildup of fumes or gases. Avoid using harsh abrasives when cleaning, as they can damage the cooktop surface. Regularly inspect the power cord for any signs of damage, and never operate the stove with a damaged cord. Keep flammable materials away from the heating elements and oven interior. Always allow the stove to cool completely before attempting any cleaning or maintenance.
Electrical Safety
Kenmore electric stoves require strict adherence to electrical safety protocols. Always ensure the stove is properly grounded to prevent electric shock. Never attempt to repair electrical components yourself; contact a qualified technician. Avoid using extension cords, as they can overheat and pose a fire hazard. If the stove emits sparks or smoke, immediately disconnect it from the power source. Keep the area around the stove dry to minimize the risk of electrical hazards. Regularly check the circuit breaker dedicated to the stove.
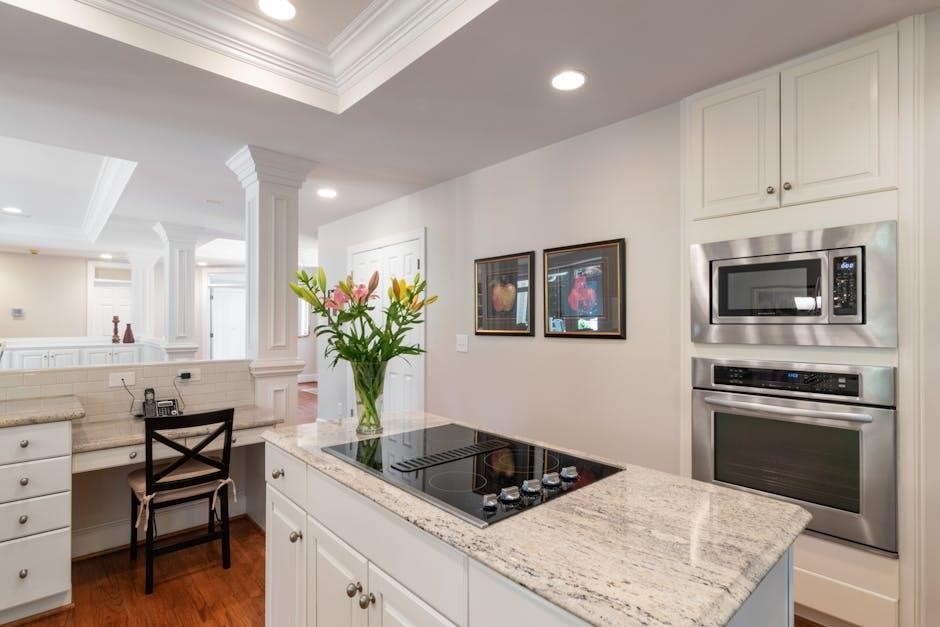
Control Panel Overview
The control panel features knobs for element control and potentially a digital display. Understanding these functions is key, as manuals may be unavailable for some models.
Understanding the Control Knobs
Kenmore electric stove control knobs regulate the surface elements, offering varying heat levels. Typically, these knobs feature markings indicating ‘Off’, and incremental heat settings – often numbered or labeled ‘Low’, ‘Medium’, and ‘High’.
Rotating the knob clockwise generally increases the heat output. Some models may incorporate ‘Power’ or ‘Boost’ settings for rapid heating. Without a specific manual, experimentation and careful observation are vital to determine the precise function of each setting on your particular stove.
Digital Display Functions
Kenmore Elite stoves often feature digital displays providing crucial information, including oven temperature, cooktop settings, and timer functions. If a manual is unavailable, understanding these displays requires careful observation during operation.
Displays may show error codes, indicating potential issues. The clock/control board, as suggested on appliance repair forums, is a key component linked to display functionality. Resetting the stove might clear temporary errors, restoring normal display operation.
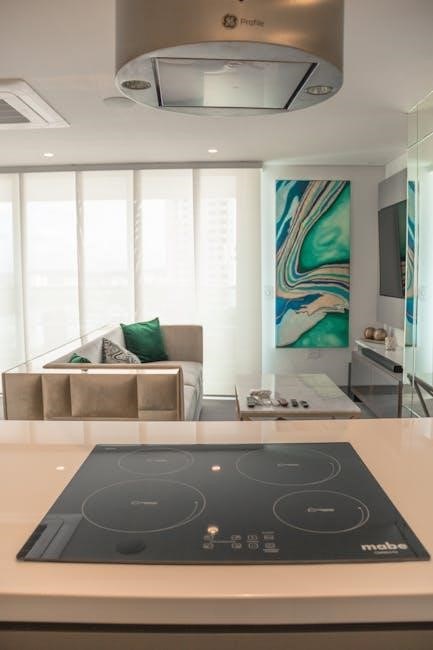
Operating the Cooktop
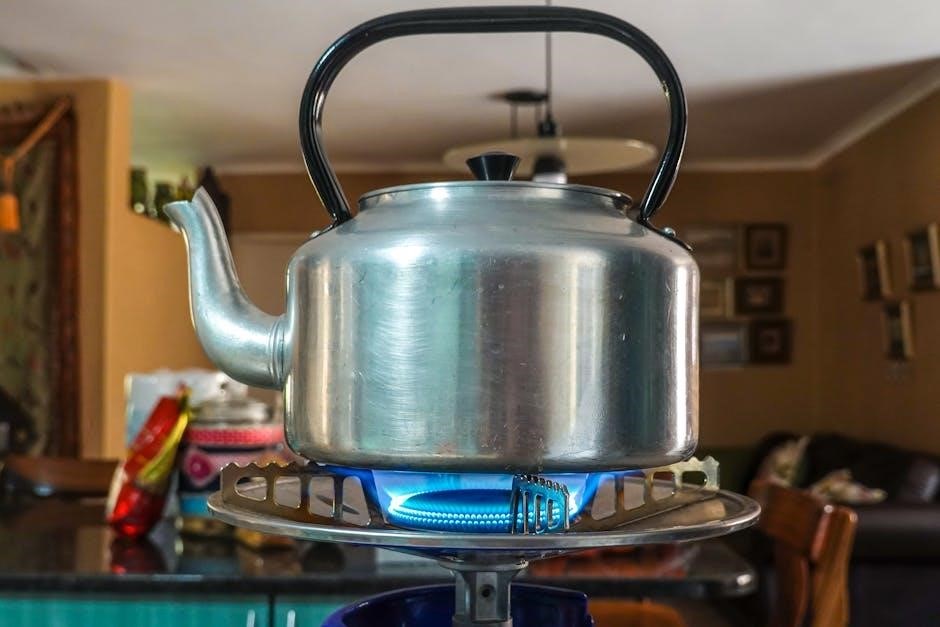
Identifying burner types is key; some Kenmore models feature long, single burners on the left side, as shown in installation manuals online.
Understanding heat settings requires experimentation, as manual guidance may be limited without a specific model number.
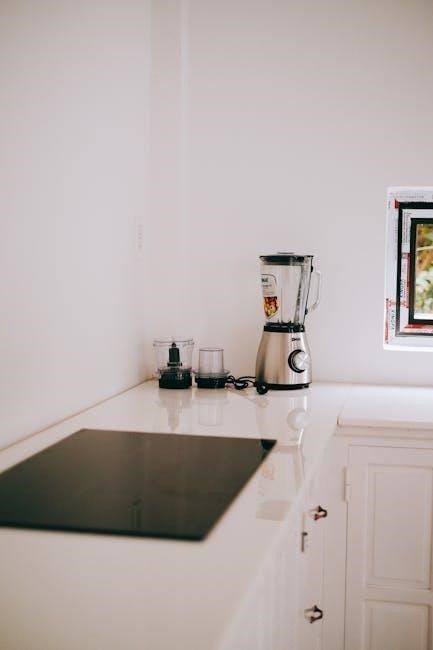
Using the Surface Elements
Without a specific Kenmore electric stove manual, operating the surface elements relies on understanding common electric cooktop principles. Typically, control knobs regulate heat levels, ranging from low simmer to high heat for boiling.
Observe the element’s glow; a brighter glow indicates higher heat. Be cautious, as elements remain hot even after being turned off. Referencing installation manuals for visually similar models can help identify burner types, like the long single burner sometimes found on the left side.
Experiment with settings to achieve desired cooking temperatures.
Understanding Heat Settings
Lacking a dedicated manual, deciphering Kenmore electric stove heat settings involves observation and experimentation. Most models utilize numbered or labeled controls, with lower numbers or terms like “Low” indicating gentle simmering, ideal for sauces.
Higher settings, often marked with “High” or larger numbers, deliver intense heat for boiling or searing. The element’s glow intensity visually represents the heat level – brighter means hotter.
Adjust settings gradually to prevent burning, and remember elements retain heat post-use.
Oven Operation
Without a manual, oven control relies on the panel. Set desired temperatures using knobs or digital inputs, selecting baking or broiling modes accordingly for optimal results.
Setting Oven Temperature
Determining the correct oven temperature often requires referencing a manual, but estimation is possible. Utilize the control knobs or digital display to input the desired baking or broiling temperature;
Observe the oven’s response and adjust accordingly, as variations can occur between models. If unsure, start with a lower temperature and increase gradually.
Remember that preheating is essential for accurate cooking, allowing the oven to reach a stable temperature before placing food inside, ensuring consistent results.
Baking and Broiling Modes
Kenmore electric stoves typically offer various baking and broiling modes, each suited for different cooking needs. Standard bake is ideal for general baking, while convection bake ensures even heat distribution.
Broil mode utilizes high, direct heat for searing and browning, requiring careful monitoring to prevent burning. Some models feature a low broil setting for delicate foods.
Consulting the manual clarifies specific mode functions, optimizing cooking performance and achieving desired results for diverse recipes and culinary creations.

Self-Cleaning Feature
The self-clean cycle utilizes high temperatures to burn off residue; preparation involves removing racks and large debris, as detailed in the manual.
Ensure proper ventilation during operation, and follow safety guidelines to prevent potential hazards during the high-heat cleaning process.
Preparing for Self-Clean
Before initiating the self-clean cycle, meticulous preparation is essential for optimal results and safety. Remove all cookware, baking stones, and aluminum foil from the oven cavity. Crucially, all oven racks, broiler pans, and any temperature sensors must be removed before starting the cycle, as they can become discolored or damaged by the intense heat.
Wipe up any large spills or excessive food debris from the oven floor; while the self-clean function handles baked-on residue, large particles can create smoke and potentially affect the cycle’s efficiency. Ensure the oven door can fully close and latch securely throughout the process.
Self-Clean Cycle Operation
The self-clean cycle utilizes extremely high temperatures to burn off accumulated food residue within the oven. Once initiated, the oven door automatically locks for safety and remains locked until the cycle completes and the oven cools sufficiently. Avoid opening the door during operation, as this poses a severe burn risk.
The cycle duration varies depending on the selected cleaning level, typically ranging from two to four hours. A noticeable odor may be present during the process, which is normal; ensure adequate ventilation by opening windows.
Troubleshooting Common Issues
If the cooktop isn’t heating, check the power supply and element connections. For oven temperature problems, verify settings and consider a potential sensor failure.
Cooktop Not Heating
When a Kenmore electric cooktop fails to heat, begin by verifying the power supply – ensure the stove is properly plugged in and the circuit breaker hasn’t tripped. Inspect each surface element for visible damage, like cracks or breaks, which could indicate a need for replacement.
Carefully examine the element connections, ensuring they are secure and free from corrosion. If the issue persists, a faulty control board or a malfunctioning element switch could be the culprit, potentially requiring professional diagnosis and repair.
Oven Not Reaching Temperature
If your Kenmore oven isn’t reaching the set temperature, first confirm the temperature setting is correct and the oven hasn’t been accidentally set to a delayed start or a different cooking mode. Inspect the oven’s heating element for any visible breaks or damage, as a faulty element won’t generate sufficient heat.
A malfunctioning oven temperature sensor can also cause this issue, providing inaccurate readings to the control board. Professional diagnosis is recommended to assess the sensor and control board functionality for proper repair.
Care and Maintenance
Regular cleaning of both the cooktop and oven interior is essential for optimal performance and longevity of your Kenmore electric stove.
Consistent upkeep prevents buildup, ensuring efficient heating and maintaining the appliance’s overall aesthetic appeal.
Cleaning the Cooktop
Maintaining a spotless cooktop is vital for both appearance and functionality. After each use, allow the surface to cool completely before wiping away spills and food residue with a damp cloth and mild detergent.
For stubborn, baked-on messes, consider using a cooktop cleaning cream specifically designed for ceramic or glass surfaces. Apply gently, following the product’s instructions, and avoid abrasive cleaners that could scratch the surface.
Regular cleaning prevents buildup and ensures efficient heating, extending the life of your Kenmore electric stove’s cooktop elements.
Cleaning the Oven Interior
Regular oven cleaning maintains performance and prevents unpleasant odors. For light cleaning, wipe down the interior with a damp cloth and mild dish soap after it has cooled completely.
If you don’t utilize the self-cleaning feature frequently, a baking soda paste can tackle grease and grime. Apply, let sit overnight, then scrub and rinse thoroughly.
Avoid harsh chemicals or abrasive cleaners that could damage the oven’s lining, ensuring a safe and effective cleaning process for your Kenmore appliance.

Replacing the Oven Light
Accessing the oven light bulb typically involves locating a small cover within the oven’s interior, often requiring a screwdriver for removal and replacement.
Ensure the oven is off and cool before attempting this, prioritizing safety during the simple bulb-changing process.
Accessing the Light Bulb
Typically, the oven light is located within the oven cavity, often covered by a glass lens or protective panel. This panel may be held in place by screws or simply snap into position. Before attempting access, ensure the oven is completely cool and disconnected from power for safety.
Carefully remove the lens cover, using a screwdriver if necessary. The bulb socket will then be visible. Be gentle to avoid breaking the glass or damaging the socket. Some models may have the light located at the top rear of the oven, requiring a slight reach.
Installing a New Bulb
Once the old bulb is removed, ensure the new bulb is the correct wattage and type for your Kenmore stove. Gently screw the new bulb into the socket, avoiding excessive force. Do not touch the glass portion of the bulb with bare hands; use a cloth or gloves.
Carefully replace the lens cover or protective panel, securing it with screws or snapping it back into place. Restore power to the oven and test the new bulb. If it doesn’t illuminate, double-check the bulb’s connection and compatibility.
Understanding Error Codes
Kenmore stoves utilize error codes to signal malfunctions. Resetting the stove often resolves minor issues, but researching specific codes is vital for accurate diagnosis and repair.
Common Error Code Meanings
Decoding Kenmore electric stove error codes requires careful attention. While specific meanings vary by model, certain patterns emerge. A flashing “F” often indicates a communication failure within the electronic control board, potentially needing professional attention. Other codes might point to issues with the temperature sensor, igniter, or heating elements.
Consulting online resources, like AppliancePartsPros forums, can provide model-specific interpretations. Remember that error codes are diagnostic tools, not solutions; they pinpoint the problem area for targeted repair efforts. Always disconnect power before attempting any troubleshooting.
Resetting the Stove
A simple reset can often resolve minor glitches in your Kenmore electric stove. Begin by completely disconnecting the power supply for several minutes – either at the breaker or by unplugging the appliance. This allows the control board to fully discharge and clear temporary errors.
Reconnect the power and observe if the issue persists. Some models may have a specific reset procedure outlined in the (often elusive) manual. If problems continue, further troubleshooting or professional service may be necessary.
Finding Replacement Parts
Sears PartsDirect and AppliancePartsPros are valuable resources for locating Kenmore stove components, often requiring the model number for accurate searches and compatibility.
Using Sears PartsDirect
Sears PartsDirect is a primary source for Kenmore appliance parts, especially given Kenmore’s historical association with Sears. Even with a partially obscured model number, the website allows searching by partial model numbers or related models, potentially leading to the correct components.
The provided link (http://www.searspartsdirect.com/partsdirect/part-model/Kenmore-elite-Parts/Range-Parts/Model-79079372400/0583/0124002) demonstrates a direct model search, though it’s crucial to verify if the listed parts align with your stove’s specific features, like burner configuration.
Carefully review diagrams and part descriptions to ensure compatibility before ordering, as Kenmore used various components across different models.
AppliancePartsPros Resources
AppliancePartsPros.com offers a robust search function, allowing users to input partial model numbers or even component part numbers to identify compatible Kenmore stoves. The forum section is particularly valuable, with discussions often detailing model number identification challenges and solutions.
Users suggest plugging in a clock/control board part number to reveal a list of potential model numbers, requiring careful scrolling and comparison to your appliance’s features.
This site provides detailed parts diagrams and troubleshooting guides, aiding in both identification and potential repairs, even without a complete model number.
Vintage Kenmore Stove Resources
Reddit communities like r/HelpMeFind and r/fixit specialize in vintage appliance identification, offering crowdsourced assistance for locating manuals and parts.
Focusing on part numbers is key, as these often unlock model information when original documentation is unavailable.
Reddit Communities for Vintage Appliances
Reddit serves as a valuable hub for Kenmore electric stove enthusiasts, particularly when seeking information on older models lacking readily available manuals. r/HelpMeFind is dedicated to locating vintage appliances, including stoves, offering a platform to post pictures and request identification assistance.
r/fixit provides a space for troubleshooting and repair advice, where users often share insights into identifying models based on components and part numbers. These communities are excellent resources for deciphering obscured model numbers and accessing collective knowledge regarding vintage Kenmore stoves.
Identifying Parts with Part Numbers
When a Kenmore electric stove’s model number is missing, focusing on individual part numbers becomes crucial. AppliancePartsPros.com suggests searching with a known part number – particularly from the clock or control board – and then scrolling through the associated model list.
This method leverages the cross-referencing of parts to identify compatible models, effectively reverse-engineering the stove’s identity. Carefully examining components for visible part numbers is a key step in restoring information when the primary model number is lost or illegible.